Manage Status Sheets
As an administrator, you have privileges to manage sheets on behalf of the sheet owners and administrators. You have the ability to:
- Create a new sheet and set its owner
- Add members to a sheet
- Change members' role on sheets
- Transfer ownership of sheets
- Archive and delete sheets
You can access this page from Workspace Admin → Groups item on the Sidebar menu.

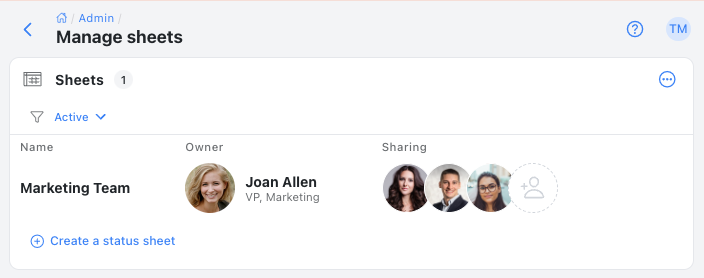
The top portion of the page allows you to specify which sheets to display. You can use the filter to select active or inactive sheets.
Adding a Status Sheet
- To add a sheet, click on the
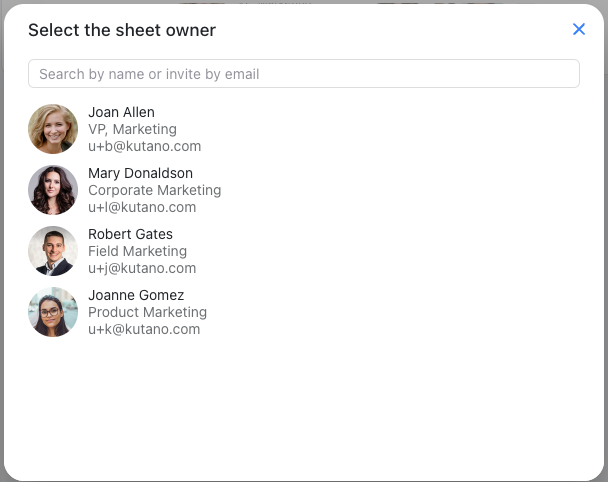
 menu button in the upper right corner of the Sheets section and select the Create a status sheet menu item.This will bring up a dialog to select the owner of the new status sheet.

- Choose one of the existing users to be the owner of the new status sheet. Owners have full control over the sheet including the ability to add members, customize, and delete the sheet.
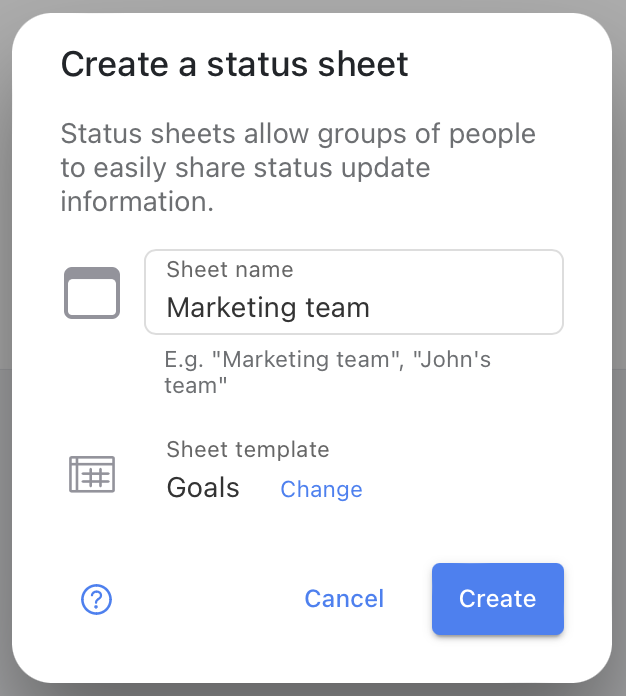
- Next, you will be asked to enter a name for the sheet. This is typically the name of the team or project that the status sheet will be used for. Also, you need to choose a template for the new status sheet.

- Enter a Name and Template for the sheet then click the Create button.
The sheet will be created and you will now see it in the list of sheets.
Status Sheet Actions
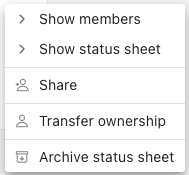
To the right of each sheet there is a ![]() menu that provides a list of actions that are available for that sheet.
menu that provides a list of actions that are available for that sheet.

- Show members - This action will navigate you to the sheet's detail page where you can see and manage the members of the sheet.
- Show status sheet - If you are a member of the sheet, this will navigate you to the sheet itself so you can view and customize it.
- Share - This will bring up a user selection dialog allowing you to add other users to the sheet as members.
- Transfer ownership - This will allow you to transfer ownership of the sheet to another user.
- Archive status sheet - This will archive the sheet and make it inaccessible to members.