Managing Status Sheet Members
Accessing the Sheet Members Page
-
As a sheet administrator, navigate to the sheet you want to change.
-
While in a sheet, click on the sheet info
 menu and select Status sheet info.
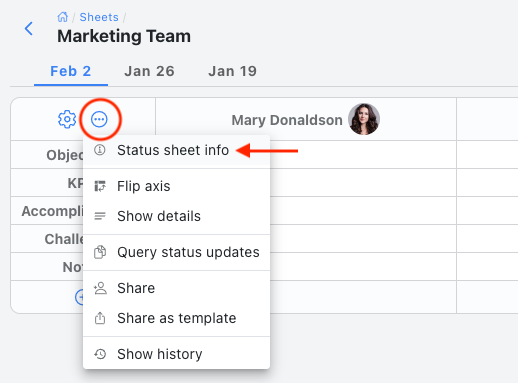
This will bring up the About status sheet details.
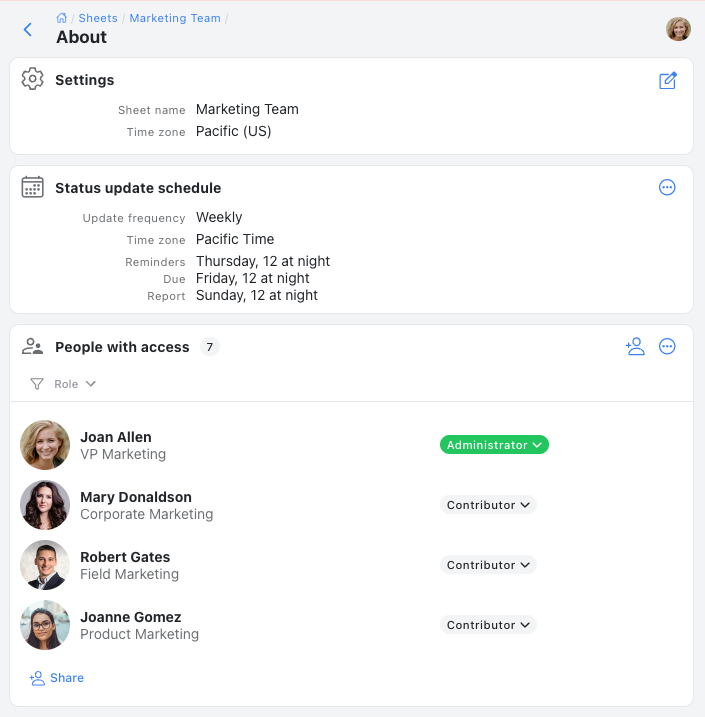
In the People with access section you will see a list of all members who have been added to the sheet.
Adding Sheet Members
- Select the Share button
 . This will bring up the Share dialog.
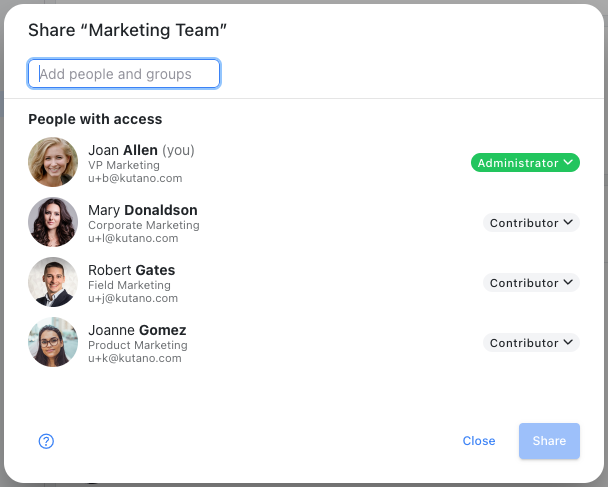
- Follow the steps in the Sharing a Status Sheet instructions.
Sheet Member Actions
There are a number of actions that are available from the menu ![]() for each team member.
for each team member.
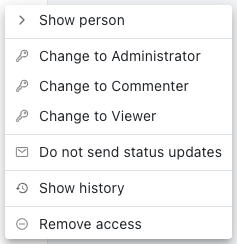
- Show member - display the details for that member's user profile.
- Change to Administrator (and other roles) - specify the status sheet role for the member within the team.
- Do not send status update report - select this option to skip sending weekly status update reports to the member. They will be able to access the information in the application but will not receive the emails.
- Show history - show a history of changes to this member
- Remove user - remove the member from this status sheet.